
Kitchen surfaces are obliged to be dirty from the preparation of food, but the argument is no more than your stove. Look well on the drip pan on every burner. The possibilities are that they are covered with spaghetti sauce, cooking oil, and schemeable eggs that go out of the pan and tighten the coating like concrete. But do not flog toxic chemicals right now – it is easy for home owners to get shining coketops with the least effort. Here is just a way to clean the stove drip pans with just a little elbow grease and some household items that you already have.
Before you start

Before starting, make sure your stove drip pan is at room temperature. If you have just finished cooking, you will need to wait for a drip pan cool. Otherwise you are at risk of burning your fingers when you clean.
You will need to eliminate drip pans for cleaning, which means removing the coil or gravates sitting on top of them. If you have an electric stove, remove the burner coil by lifting a little on one side. You will see a socket in which the burner coil plugs. This is on the other side of the hole in your drip pan. Gently tug the Burner Code out of the socket to remove it, and keep it aside. Now you can lift the drip pan.
Most gas stoves contain metal gravates that easily access the drip pan below.
Now you are ready to start cleaning these Grangi drip pans. Note that the following cleaning techniques work both for a drip pan and gas stove chefs made of chrome or porcelain.
Method 1: baking soda and dish soap
In a hurry to clean these stoves? You can start this fast method at lunch and be prepared to cook at lunch. (Don’t worry: Most of the time will be to soak, no bush.)
Supply
In the trash
Vowel
Dish soap
Baking soda
Pastry brush (optional)
Sponge
Vein
Dish cloth
Scrub brush
Step 1: Remove the drip pan from the stove.
Remove your (completely cool) drip pan, shake loose pieces in the garbage canned, and rinse the pan in a kitchen sink with potential water.
Step 2: Prepare and mix the cleaning solution.
In a small bowl, mix the liquid dish soap and baking soda in 1: 1 ratio. One half cup of each is a good starting point, but you can add more if necessary.
Step 3: Apply on a stove drip pan.

Use your fingers or pastry brushes to coat each drip pan freely with soap/baking soda mixture, sweep it into the pan. Immediately to some trapped gang. It should start loose-if not, do not be afraid and move on to the next stage.
Step 4: Let the soap drip pan sit.
Stack the soap drip plates out of your sink, and let them sit for about an hour. When you are waiting, clean your remaining stoves with a damp sponge in the baking soda so that it is ready to meet your skin -spread drip pans. Clean the baking soda with a clean color, then dry the stove with a soft dish cloth.
Step 5: Rinse the drip pan, and re -clean them if necessary.
To remove the soap mixture, rinse the drip pan thoroughly. To deal with the fresh drowning sponge in a bush brush or baking soda with any remaining dirty spots.
Step 6: Dry the drip pan and turn them on the stove.
Dry the drip pan from the dish towel and return them to your stove. Change the burners, and enjoy cooking on your clean stove.
Method 2: ammonia
For the same effective cleaning method that requires less bush, sting the drip pan in ammonia, a long, long, long. If you start this method after dinner, you will have a spot -free stupoto before the next day’s lunch.
Supply
1 gallon ziplok bag
Home ammonia
Sponge
Dish soap
Dish towel
Step 1: Remove and prepare the stove drip pan.
After dinner, wait for your drip pan cool. Remove them from the top of the stove, rinse them in warm water, and keep each in your 1 gallon ziprock bag.
Step 2: Add ammonia to each bag.
Add 1/4 cup of domestic ammonia to each bag. You don’t have to worry about coating fully drip pan with ammonia. The smoke is going to do dirty work to loosen the Burnet on Food Splitter.
Step 3: Soak the drip pan overnight in Ammonia.
Seal the zippers on the plastic bag. Leave them stacks overnight in your empty kitchen sink, or at least 12 hours.
Step 4: Remove the drip pan from ammonia.
Open the bag well to the airplane (ammonia smoke will be strong) and remove the drip pan. After that, re -wrest and dispose of used bags. Sleep ammonia with cold water and put it down with a sink drain. If you have a septic system, do not put ammonia under the drain. Instead, neutralize ammonia before waste in the trash.
Step 5: Rinse and clean the drip pan.
If any dirty spots live on drip pans, delete them with sponge and dish soap – it should not take the most of the elbow grease. Rinse the drip pan thoroughly with warm water.
Step 6: Dry and replace the top drip pan of your clean stove on the stove.
Dry the drip pan with a towel and return them to the stove.
Save yourself some trouble in the future: The best way to avoid time to clean the stove is honest about cleaning and after cooking. As soon as this happens, make the mental note of this dirt, then as you finish cooking and the stove is cooled, then clean the stove, dust, and grease clean drip pan.
The final views
Whether you choose a sharp cleaning method with baking soda or slowly with ammonia, you will end up with clean drip pans that will help improve the appearance of your entire kitchen. After each cooking session, remove any kind of spill or drip and look for them best (and remember letting the stove cool before touching the surface). Clean your stove at least once a month, or more often if you cook or make utensils that sprinkle or sprinkle.
Normal questionnaire
All stoves need some kind of drip pan to catch spill and spraying, but not every stove does not have a removable drip pan. Some stoves have just shielded the basins around the burners that serve the same function like a removable drip pan, but it needs to be cleaned while living on the stove. The cleaning procedures here only apply to the removable drip pan.
Their age depends on how many times you use the stove, but in general, if they are cleaned regularly, the drip pan should continue for many years. Once the drip pan is out of your cleaning abilities, stained, stained or dirty, or wearing it, the time for alternatives has come.
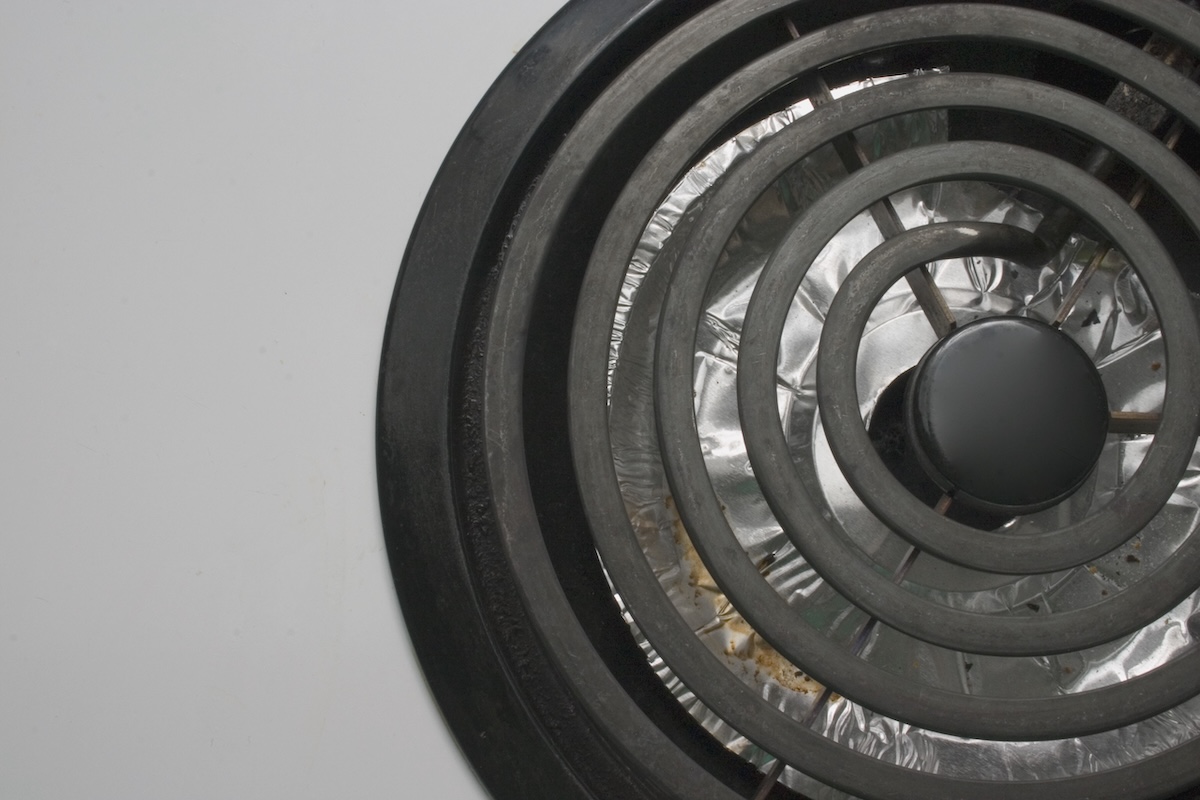
Although this is a common practice, it is not a good idea to write your drip pans with aluminum foil. Heat can be born under the foil, which can lead to uneven cooking consequences or there is a potential risk of fire.
For example, whenever you cook on your stove, sprinkle you and sprinkle. If you cook daily, or once a month, if you often don’t use your stoves, it is also a good idea to give drip pan more well -cleaning once a week.
Both chrome and porcelain drip pan are usually dishwasher, so if you want to save yourself time and effort, go ahead and place them on the top rack during your regular dishwashing cycle.
You may wonder why most alternative drip pans have small holes on the edges. The reason for this is that many oven go through one of the previous stove burners, which requires vent hole to release heat. Of course, the drip pan for electric stoves also has a large hole for the burner plug.

This is the year of kitchen renovation